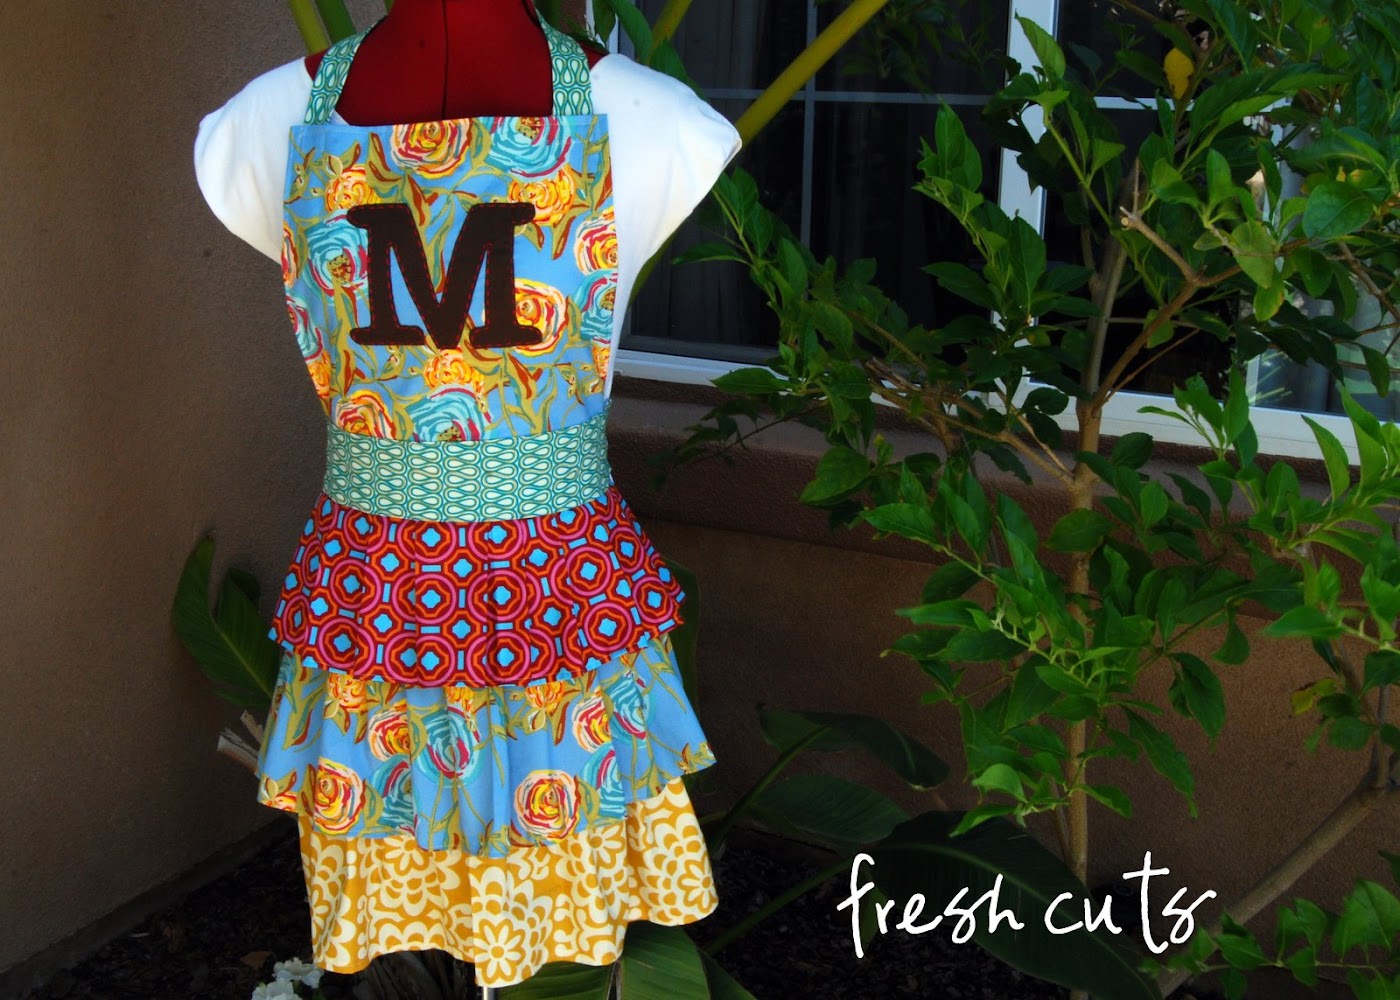
A few years ago I saw an apron similar to this one in a shop that I've since forgotten the name. I went home and made my own version while the inspiration was fresh on my mind. Over the last couple of years I've made them for friends, teachers and have even sold a few along the way. I've seen many variations to this pattern, but this is my version.
I'd like to call her the Triple Layer Apron.
Material List:
Fabric A (waist band and ties) - 1/2 yard
Fabric B (layer 1) - 1/4 yard
Fabric C (layer 2 and top) - 3/4 yard
Fabric D (layer 3)- 1/4 yard
Fabric E (letter) - 8"x 8" square
Fabric F (under layer) - 1/2 yard
Multi Purpose Sewing Thread
Embroidery Thread
Pins
Tape Measure
Fabric Marking Tool
Scissors
1 Sheet of Heat and Bond
Sharpie
Image of a letter approximately 6" x 6"
 Step 1: Cut out the fabric
Fabric A (waist band and ties): Cut 2 34" x 4 1/2" and 2 17" x 3" strips for the ties and cut 1 18" x 6" piece for the waist band.
Fabric B (layer 1): Cut 1 36" x 9".
Fabric C (layer 2 and top): Cut 1 piece 36" x 9" and 1 piece 14" x 14". To create the taper fold in piece in half and measure 1" inch in from the cut side. Mark with the fabric marking tool. With a straight edge line up the mark to the bottom edge of the fabric. Draw a line then cut along line. The top should measure 12" and the bottom should measure 14". (see photo #3)
Fabric D (layer 3): Cut 1 36" x 9".
Fabric E (letter) :Cut 1 8"x 8" square.
Fabric F (under-layer for top and bottom): Cut 1 piece 14" x 14". To create the taper fold in half and measure 1" inch in from the cut side. Mark with the fabric marking tool. With a straight edge line up the mark to the bottom edge of the fabric. Draw a line then cut along line. The top should measure 12" and the bottom should measure 14". Cut 1 piece 20" x 20". To create the taper fold in half and measure 2" inch in from the cut side. Mark with the fabric marking tool. With a straight edge line up the mark to the bottom edge of the fabric. Draw a line then cut along line. The top should measure 16" and the bottom should measure 20".
Okay now that part is over lets get on to the fun part; sewing the pieces together. Excited yet?
 Step 2: Finish all the edges
The next set of photos shows me finishing all the edges. I have an overlock machine so I serge all the edges. You can finish off your edges by doing a zig zag stitch along the edge or by using the turned-under method. Finish the edges of all the of the pieces except the ties. Next you will hem the edges by folding over the edge about 1/4" and pressing with an iron to set the fold line. Then top stitch. (See photo # 3) Hem the sides and bottom of all three layers. You don't have to hem the top because it wont be seen. Hem the sides and the bottom of the skirt under layer. I like to double up the top of the apron and that is why I have you cut 1 piece of fun fabric and 1 piece of under-layer fabric. This is optional but I like to hide my embroidery stitches. It also gives the top some stability. If you are going to add a letter it's easier to do it at this point before the pieces are attached together. Once that's done hem the sides and the top.
Stay with me the best part is coming up, making the skirt!
 Step 3: Constructing the Skirt
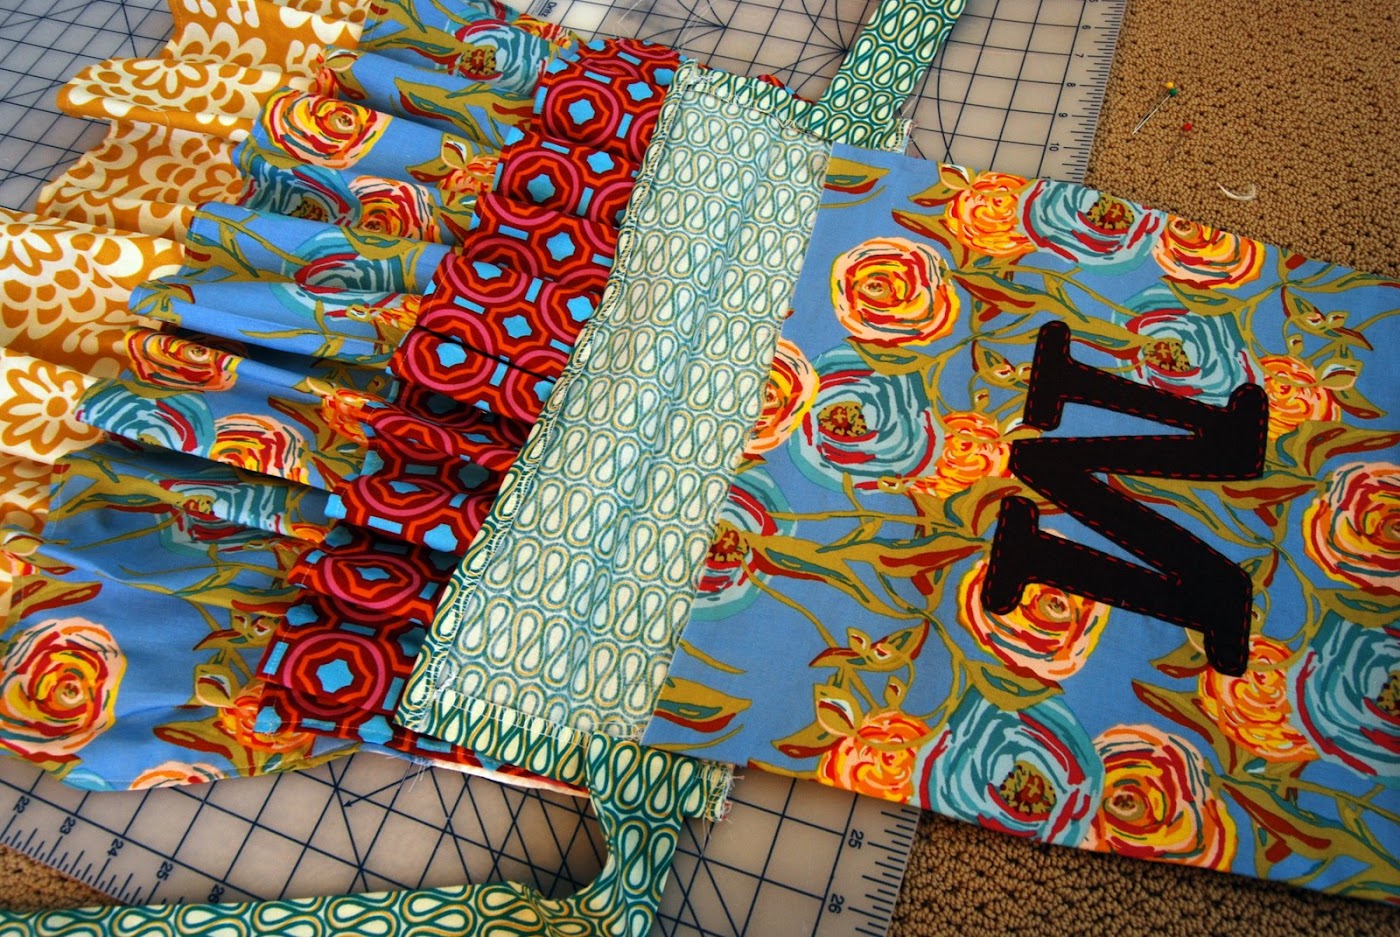
Line up right edge of the first layer to the skirt under-layer. Create pleats to fit all the way across. I don't mark or measure this part out. Just eye it. You may have to adjust it a couple of times until it fits perfectly. Don't worry if every pleat isn't exactly the same size. No one will ever know I promise. Next, stitch across the top to secure it to the under-layer. (see photo #2) Once you have the top layer sewn on flip it back an measure down 5". This will be your line for your next layer. (see photo #3) Begin pinning and pleating just like you did the first layer. (see photo # 4) Flip back the 2nd layer and mark 5" down. Mark and attach the 3rd layer.

Super cute right? Hold it up, stand in front of a mirror and admire your work thus far.
Step 4: Making The Ties
To make the ties fold the pieces in half and serge or stitch along edge and across one side. (2 for the waist and 2 for the neck)
I like to use a knitting needle to turn the strips inside out.
Step 5: Adding the Monogram Applique
To make the monogram, print out a letter approximately 6" x 6". Then you will trace onto your sheet of heat and bond. Make sure you trace the letter in reverse so when you iron it to your fabric it will read the right way. (see photo #1) Cut around you letter and iron it to fabric E. (see photo #2) Cut it out, peel off the paper and iron it the font of the top piece of the apron. (see photo #3 & #4)

You can use a sewing machine to stitch around the letter but I like to do a running stitch along the edges of the letter by hand.
Step 6: Attach The Waist Band, Top and Tie
To attach the waist band you first need to fold over the sides and the bottom about 1/4" an press into place. (see photo # 1) You may have to fold over the sides a little more to fit it to the dimension of the skirt. (see photo #2) Pin in place and sew along the top edge to secure waistband to the skirt. Next fold up the bottom edge to line up with the top edge. Give it a good press with the iron. (see photo #3)

Fold the waistband down and pin the top and the ties into place. This is where you can make an adjustment depending of the length of torso.
Top stitch all the way around the waistband securing the ties and the top.
Finally attach the neck ties. Pin at the corner of the top and stitch securing all sides.
Yea, you are finished! Isn't she the cutest little layered apron you've ever seen? If you feel like jazzing her up a bit add some trim or a ruffle along the top. Believe me when you put this apron on you won't mind all that slaving away in the kitchen.

You can also wear the apron with the top down. Kinda' looks like a skirt...now there's an idea.
This is the first layered apron I made. It's a simplified version where I didn't add a top and I used a wide ribbon for the ties.